E-commerce’s relentless pursuit of an engaging shopping experience has led to the Shopify Ajax API. It’s the secret behind dynamic online stores. But what is it, and how can it redefine your business?
Can it create seamless shopping carts, lightning-fast searches, and instant product updates? As we journey through this guide, you’ll discover how AJAX can elevate user engagement and set your business apart in the competitive online market.
What is the Shopify Ajax API?
Shopify Ajax, often referred to as “Shopify AJAX Cart” or “Shopify Ajax API,” is a method used by developers to create a more seamless and interactive shopping experience on Shopify-powered e-commerce websites.
AJAX (Asynchronous JavaScript and XML) is a set of web development techniques that allows web pages to update and display data dynamically without requiring a full page reload. In the context of Shopify, AJAX is used to add dynamic and interactive features to the shopping process.

Shopify provides APIs and JavaScript libraries to enable developers to implement these features. By utilizing Shopify Ajax effectively, e-commerce businesses can create more appeal, thereby increasing sales and customer satisfaction.
The Benefits of Using the Shopify Ajax API
The Shopify Ajax API offers several benefits for e-commerce businesses and their customers. Here are some of the key advantages of incorporating the Shopify Ajax API into your online store:
- Improved user experience: AJAX lets you update product information, cart contents, and other elements in real-time without requiring full page reloads.
- Faster page load times: AJAX reduces the need for complete page refreshes, which can significantly improve page load times.
- Enhanced Cart Functionality: AJAX enables the creation of dynamic and interactive shopping carts.
- Quick product previews: Customers can access product details without leaving the current page.
- Live Search and Filtering: AJAX-powered live search and filtering display relevant results in real-time.
- Seamless product loading: Instead of pagination, AJAX can load more products as customers scroll down.
- Real-time inventory and pricing updates: Customers always see the latest product availability and prices.
- Add-to-cart animations: Smooth animations provide immediate feedback when items are added to the cart.
- Customization and personalization: AJAX allows tailoring the shopping experience to your brand and customer preferences.
- Increased conversions and sales: A seamless shopping experience often boosts conversions.
- Competitive advantage: AJAX provides a modern, efficient shopping experience compared to static sites.
- Mobile friendliness: AJAX improves mobile shopping interactions, crucial for growing mobile commerce.
Step-by-Step Guide to Setting Up the Shopify Ajax API
Setting up the Shopify Ajax API involves integrating AJAX functionality into your Shopify store to provide an enhanced shopping experience. Here’s a step-by-step guide to help you get started:
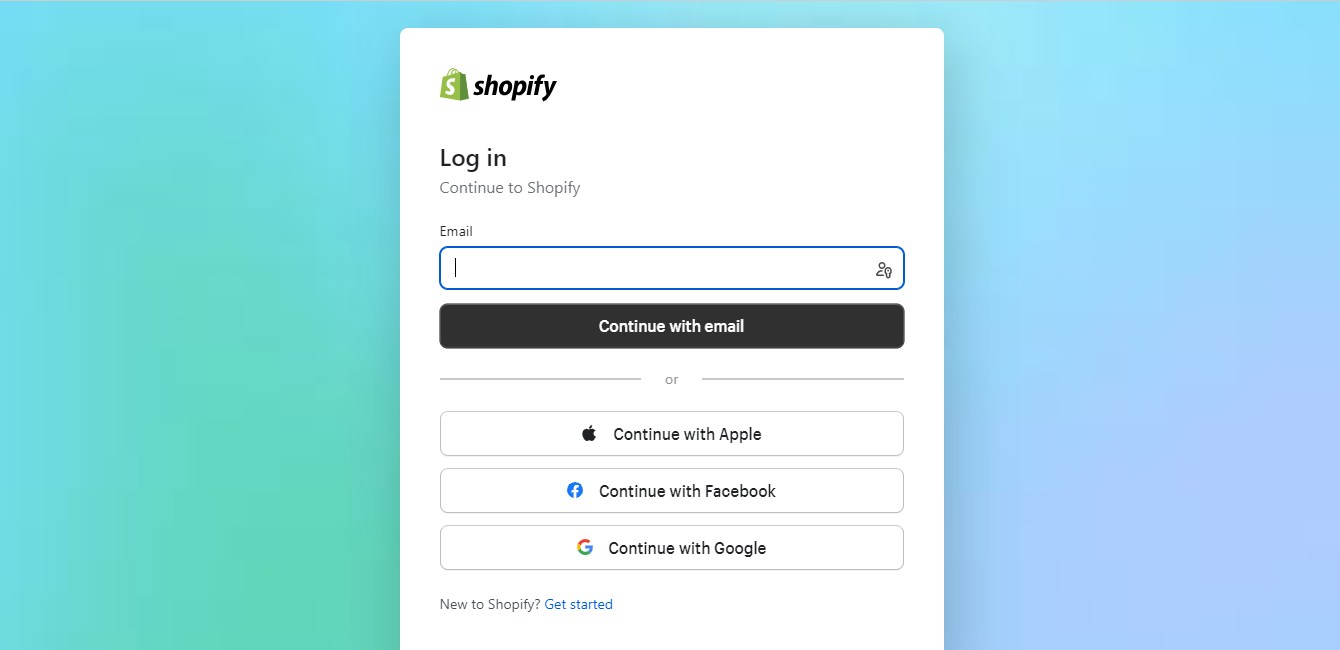
Step 1: Set Up a Private App
Here’s how to create your private app in your Shopify store:
- Log in to your Shopify admin panel.
- Go to the “Apps” section in the left sidebar.
- Click “Manage private apps.”
- Create a new private app by clicking the “Create a new private app” button.
- Provide a name for your private app and configure the necessary permissions.
- After creating the private app, you’ll receive API credentials (API key and password) to authenticate your app when making API requests.
Step 2: Obtain API Credentials
Once you’ve created your private app, take note of the API credentials:
- API key: This serves as a distinct identifier for your app and will be used in your AJAX requests to Shopify.
- Password: This is the secret key that, along with your API key, authenticates your app to access the Shopify API.
Keep these credentials secure, and don’t share them publicly.
Step 3: Set Up Your HTML
To incorporate AJAX functionality into your Shopify store, you’ll need to customize your HTML templates. The specific HTML files you modify will depend on the features you want to implement. Common templates include product.liquid, cart.liquid, and collection.liquid. Here’s what to do:
- Duplicate your current theme as a backup to preserve your original design and functionality.
- Access the Shopify theme code editor from your admin panel.
- Modify the HTML templates relevant to the features you’re adding. For instance, if you want to enable real-time cart updates, you’ll likely need to edit the
cart.liquidtemplate. - Add HTML elements, classes, or IDs that will be manipulated by your JavaScript code to reflect the real-time data from the Shopify API.
Step 4: Create Your JavaScript File
JavaScript is the heart of your Shopify Ajax API implementation. You’ll need to write JavaScript code to make AJAX requests to the Shopify API and update your HTML dynamically. Here’s what to do:
- Create a JavaScript file, such as
custom.jsorshopify-ajax.js, where you’ll write your code. - Inside your JavaScript file, use the API credentials (API key and password) you obtained in Step 2 for authentication in your AJAX requests.
- Write JavaScript functions to handle user interactions, make API requests, and update the HTML elements you modified in Step 3 with real-time data.
- Test your JavaScript code to ensure it’s functioning as expected. Pay special attention to handling errors gracefully and providing user-friendly feedback.
Step 5: Testing
Testing is a critical part of the process to ensure that your Shopify store’s AJAX functionality works smoothly. Here’s what to consider:
- Thoroughly test the implemented features. Make sure that AJAX requests to the Shopify API work as intended.
- Test the user experience to ensure that real-time updates are seamless and that error messages are clear and informative.
- Test your implementation across different browsers and devices to ensure compatibility.
- Debug and resolve any issues that arise during testing.
- Consider seeking feedback from potential users to identify any usability issues and areas for improvement.
Common Use Cases for the Shopify Ajax API
Developers often use AJAX techniques in combination with the Shopify Storefront API or Admin API to create dynamic and interactive features on Shopify-powered e-commerce websites. Here are common use cases for using AJAX in Shopify:
1. Implementing Real-Time Product Updates
Real-time product updates are a game-changer in e-commerce. With the Shopify Ajax API, your customers will continuously stay informed with the latest updates. Real-time updates can include:
- Price changes: As prices are updated in your system, customers see these changes instantly. This transparency fosters trust and can result in increased purchases.
- Inventory availability: When a product goes out of stock, the Shopify Ajax API can immediately update the product page to reflect this. Conversely, when an item becomes available again, customers will know right away.
- Product variants: If you offer products with multiple variants (like size or color), real-time updates can show customers which variants are available or sold out, without the need for page refreshes.
- New arrivals and restocks: Real-time product updates can prominently feature new arrivals and restocked items to grab customers’ attention as soon as they land on your website.
2. Creating Dynamic Shopping Carts
A dynamic shopping cart, powered by the Shopify Ajax API, provides numerous benefits for both customers and store owners:
- Smooth interactions: Customers can add, update, or remove items from their cart without being redirected to a separate cart page.
- Instant totals: As customers make changes to their cart, such as quantity adjustments or adding promo codes, the cart’s total is updated in real time.
- Cross-sell and upsell: Use dynamic carts to suggest related products, upsells, or cross-sell items, increasing the average order value and driving more sales.
3. Enhancing Search Functionality
An improved search experience can significantly impact customer satisfaction and conversion rates. With the Shopify Ajax API, you can enhance search functionality by:
- Live search and autocomplete: As users type in their search queries, AJAX can provide instant search suggestions and results, making it quicker and easier for customers to find what they’re looking for.

- Filtering and sorting: Enable users to filter and sort search results without needing to reload the page. Dynamic filtering allows for a more personalized shopping experience, especially in large product catalogs.
- Search result previews: When a user hovers over a search result, AJAX can provide previews of the product, including images, descriptions, and prices. This feature aids customers in their decision-making process.
4. Customizing the Checkout Process
A customized checkout process can streamline the path to purchase, reduce cart abandonment, and increase conversions:
- Single-page checkout: With AJAX, you can create a single-page checkout where customers can enter shipping information, select payment options, and review their orders without navigating through multiple steps.
- Real-time validation: AJAX can validate user inputs in real time, ensuring that customers receive immediate feedback about any errors or missing information.
- Address autocompletion: Implement address autocompletion during the checkout process, making it quicker and easier for customers to fill in their shipping information accurately.
5. Real-Time Inventory Management
Real-time inventory updates are crucial for customer satisfaction and efficient store management:
- Inventory transparency: The Shopify Ajax API can display real-time stock availability on product pages.
- Out-of-stock notifications: When an item goes out of stock, the API can offer customers the choice to receive notifications when it’s restocked.
- Inventory insights: By monitoring inventory changes in real time, store owners can make informed decisions about restocking products, discontinuing certain items, and managing their supply chain more effectively.
How to Use the Shopify Ajax API
Using AJAX with Shopify involves making asynchronous requests to Shopify’s APIs. Here’s a step-by-step guide for using the Shopify Ajax API:
1. API Access and Authentication
To access the Shopify Ajax API, you need to authenticate your requests. Authentication is typically done through API keys and tokens.
First, you’ll need to create a private or custom app in your Shopify admin to obtain the API key and any other necessary credentials. Ensure that your app has the permissions for the actions you want to perform through the API.
2. Make AJAX Requests
To interact with the Shopify Ajax API, you’ll use JavaScript’s AJAX capabilities. You can use the older XMLHttpRequest or the modern fetch API.
In your JavaScript code, make sure to construct your AJAX request with the appropriate HTTP method (e.g., GET, POST) and include the necessary headers. The critical header to include is the X-Shopify-Storefront-Access-Token, which should contain your API key for authentication.
3. API Endpoints
Shopify provides a variety of API endpoints to access different aspects of your e-commerce store. Some common endpoints include products, collections, customers, orders, and more.
Consult the Shopify Storefront API documentation to understand the available endpoints and their functionality. You can use GraphQL queries to request specific data, making it flexible and efficient.
4. AJAX Request Example
To retrieve product information from Shopify using the Storefront API, you would construct a GraphQL query as part of your AJAX request. Here’s an example of fetching a product by its handle:
5. Handling Responses
Upon receiving a response from Shopify, parse the JSON response to extract the relevant data. You can then use this data to update your web page or perform other necessary actions.
6. Rate Limiting and Best Practices
Shopify imposes rate limits on API requests to prevent abuse and ensure fair usage. Be aware of these limits to reduce the number of requests. Use best practices, such as minimizing unnecessary requests and handling pagination correctly when dealing with large datasets.
7. Testing and Error Handling
Thoroughly test your AJAX requests in different scenarios to ensure they work as expected. Implement robust error handling by checking the response status and content. Different status codes (e.g., 200 for success, 404 for not found, 429 for rate limiting) may require different handling logic.

Utilize browser developer tools to inspect the network requests and responses for debugging and troubleshooting purposes.
Conclusion
The Shopify Ajax API is your gateway to creating captivating e-commerce experiences. It transforms online shopping, engaging customers in real-time interactions.
Embrace innovation, adapt to change, and keep refining your approach. By mastering the Shopify Ajax API, you’re not only shaping your store’s future but also raising the industry’s bar.