SP Request a Quote (RFQ)
Get started with SP Request a Quote (RFQ)
Introduction
Welcome. This quick guide helps you set up and use SP Request a Quote (RFQ) without needing technical skills. You’ll let shoppers request quotes, negotiate prices, and convert accepted quotes to Shopify Draft Orders. Everything runs inside your Shopify admin.
What does this app do?
- Lets customers submit quote requests on eligible products or collections
- Gives merchants a central quote inbox with search, filters, bulk actions, and editing
- Supports negotiation chat between buyer and merchant, with optional file attachments
- Tracks the full quote lifecycle: Requested by customer → Sent → Under Negotiation → Accepted / Declined / Expired
- Auto-creates a Shopify Draft Order when a quote is accepted, so buyers can check out
- Provides email templates for each stage and optional SMTP to send with your mail server
- Adds a floating Quote widget and buyer portal so customers can manage quotes on the storefront
Who should use this app?
- B2B and wholesale stores that need custom pricing before checkout
- Merchants selling configured or high-ticket items that require approval
- Stores that want to hide prices and handle quotes instead of instant purchases
Before you begin
Make sure you have:
- A Shopify store with admin access.
- Access to Online Store > Themes to enable the app embed.
- SMTP details ready if you plan to send emails via your own mail server.
Installation and First-time Setup
Step 1: Install the app

- From Shopify admin, go to Apps.
- Open Shopify App Store and search SP Request a Quote (RFQ).
- Click Install and approve permissions.
- You’ll land on the app Dashboard.
Step 2: Follow the quote flow set up guide
After installation, you’ll see a “Get Your Quote Flow Ready” card on the dashboard.
This setup helps you configure the quote flow correctly.
Complete the 3 steps:
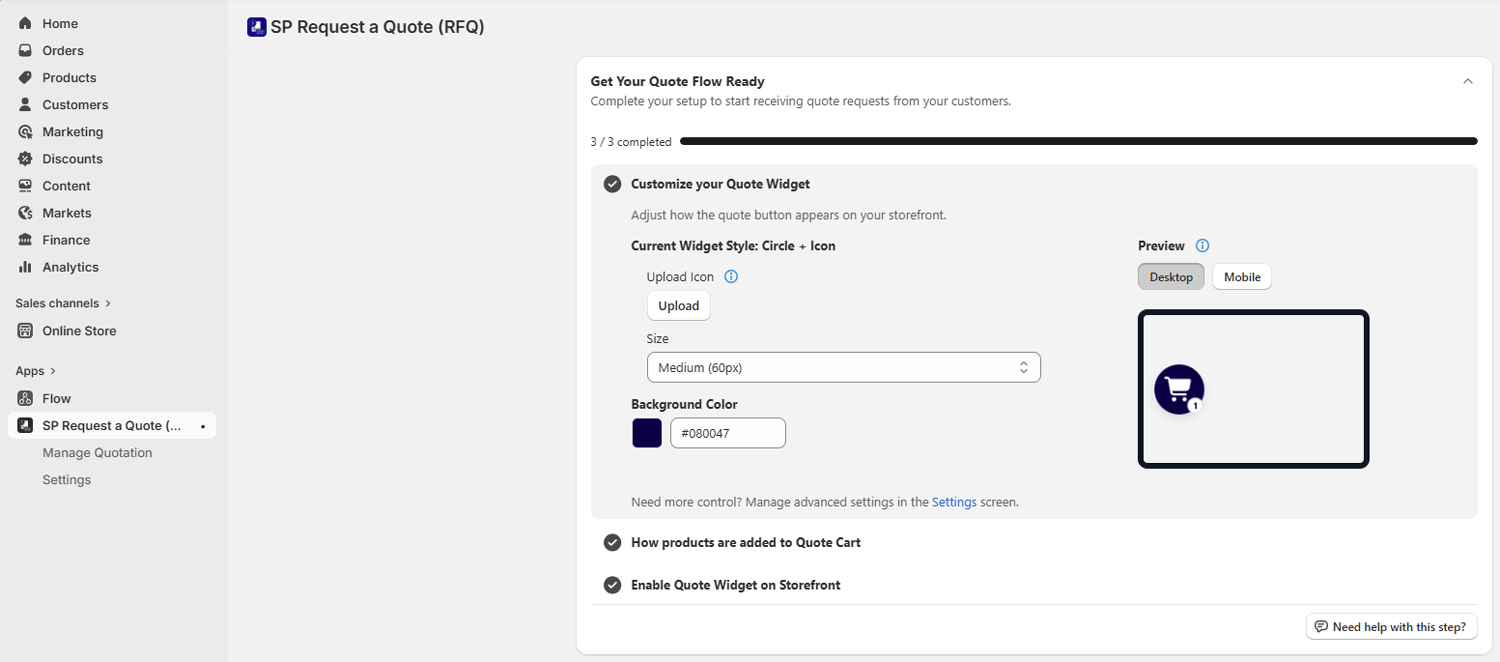
- Step 1 - Customize your Quote Widget: Click Go to Quote Widget setup to open the Quote Widget configuration screen. Step marks complete when you click the CTA.
- Step 2 - How products are added to Quote Cart: Choose between automatic or manual product addition. Step marks complete when you click the CTA.
- Step 3 - Enable Quote Widget on Storefront: Turn on the widget so customers can see it. Step marks complete only when the app is actually enabled on your theme.
💡 Note:
For first-time setup:
- Click Enable app
- Shopify opens the Theme Editor
- Click Save in the Theme Editor
- Return to admin and refresh
Step 3: Quick configuration checklist
- Decide who can request quotes: everyone or selected customer groups.
- Choose which products are eligible: all products or selected products/collections.
- Set quote expiration days and reminder timing.
- Customize email templates and, if needed, configure SMTP.
- Adjust the Quote Widget design and position.
💡 Note: You can read configuration instructions in full detail in the Settings & Advanced Configuration section below.
Dashboard Overview
The Dashboard helps you act fast:
- Get Your Quote Flow Ready – onboarding card to complete setup
- Today / Total / Pending counters – monitor activity at a glance.
- New Quote Requests Needing Response – latest buyer requests (status: Requested by customer).
- Active Negotiation Pipeline – quotes in Sent or Under Negotiation.
- User Guide / FAQs / App info – support links and plan details.
💡 Tip:
- Use the Refresh icon next to stats to update the counters. The timestamp shows when data was last updated.
- You can refer to our SP Hide Price & Access Control app for more advanced features.