How to set up Settings
The Settings page lets you manage all essential configurations of the MP Instagram Feed app — including your subscription plan, app status, language preferences, sync behavior, and third-party integrations. Additionally, you can set up connections for Instagram and TikTok.
Use this section to control how the app works with your store and ensure everything stays up to date.
I. App settings
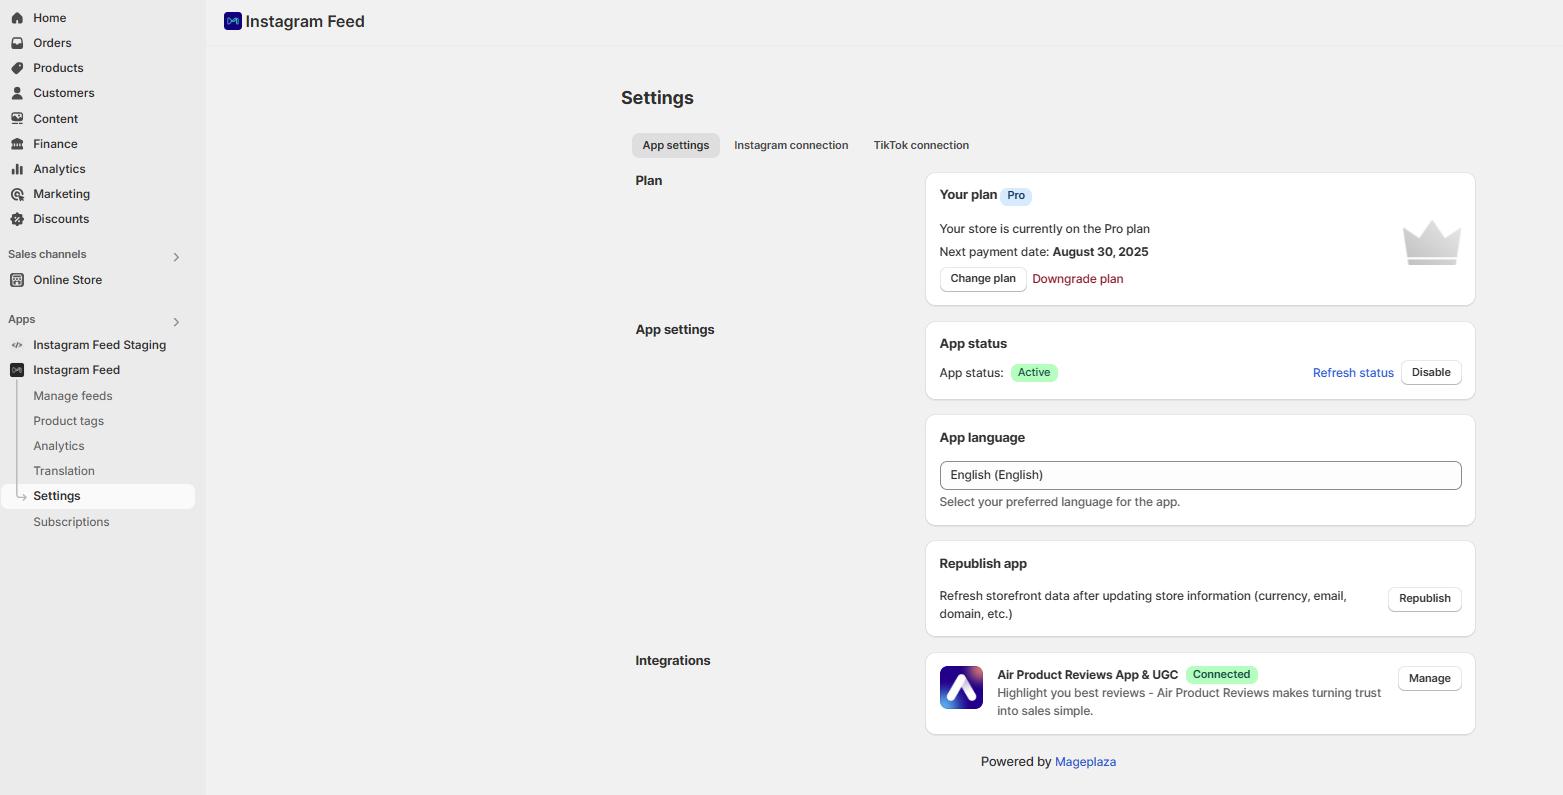
The Settings page allows you to manage your plan, control app behavior, language preferences, data syncing, and integrations — all in one place.
1 .Plan
- Current plan: Displays your subscription tier (e.g., Free, Pro).
- Next payment: Shows your upcoming billing date/time.
Click Change plan to upgrade or switch billing cycle and click Downgrade plan if you want.
2. App settings
App status: This feature allows you to activate the app on the storefront.
- Select App status > Enable app and you will be redirected to Shopify App embeds.

- In the Shopify App embeds, activate Mageplaza Instagram Feed application and save the change.
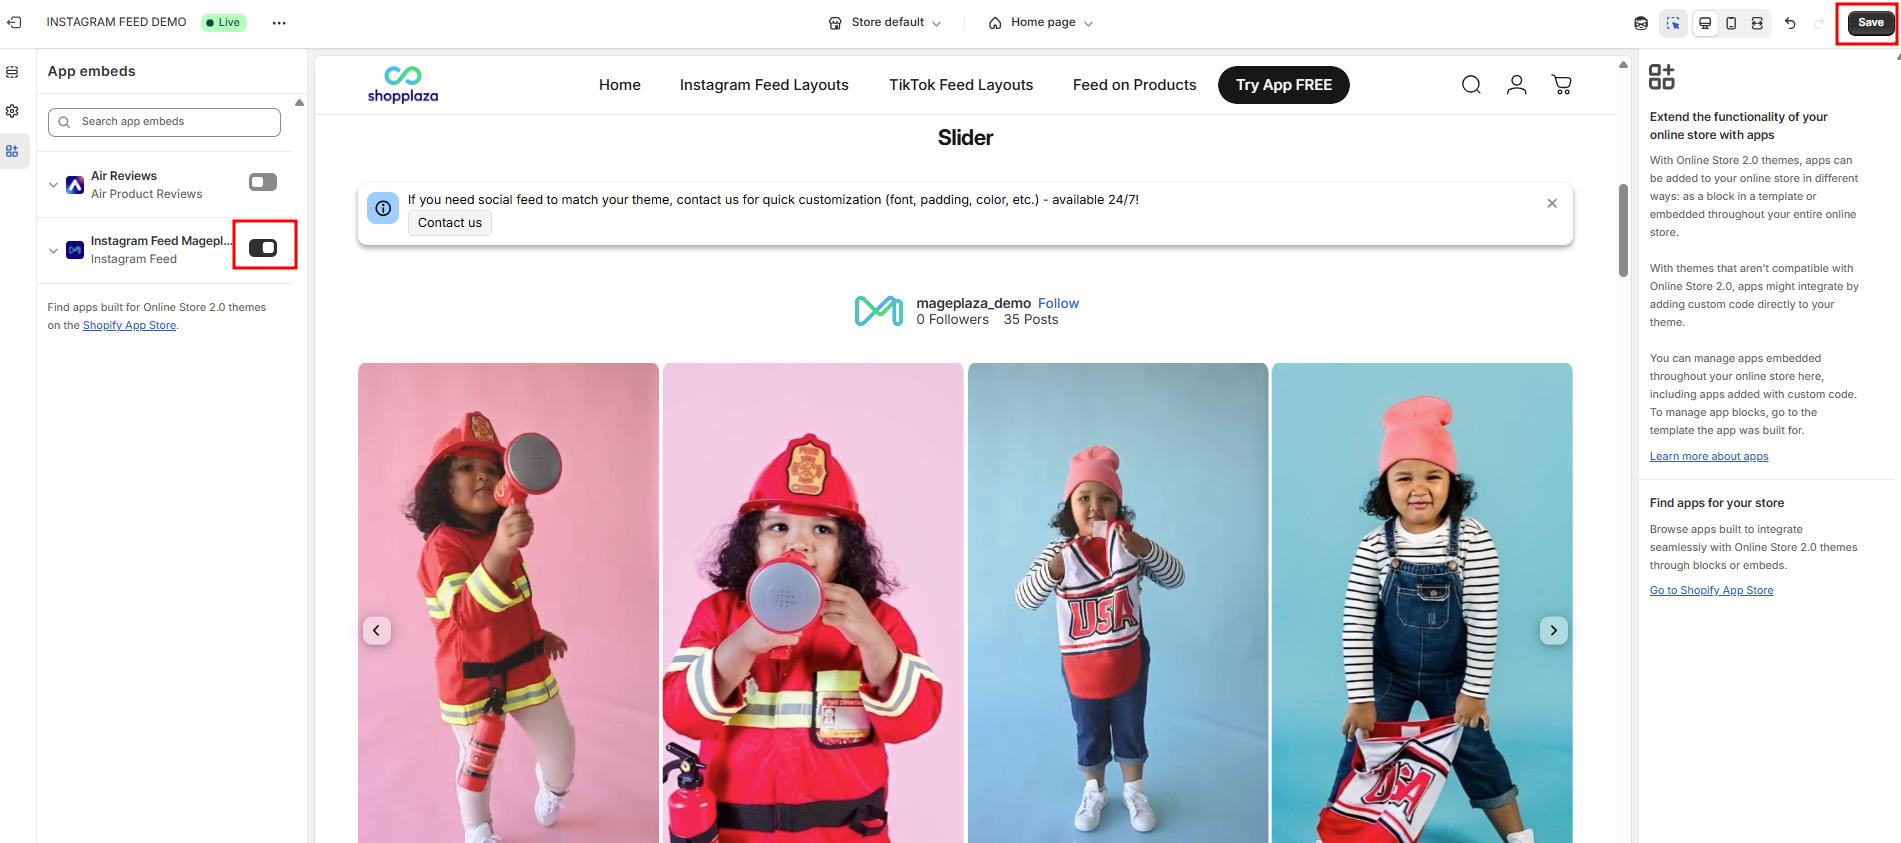
- Back to the app, you need to click on Refresh status to update the app status.
- Besides, you can deactivate the app by pressing the Disable button.

App language
- Supported languages include English, Spanish, French, Italian, Japanese, German, Swedish, Dutch, Czech, Danish, Norwegian (Bokmål), Polish, Portuguese (Brazil), Portuguese (Portugal), Finnish, Turkish, Thai, Chinese (Simplified), Chinese (Traditional), and Korean.
Republish app
Here are some cases where republishing is needed:
- The theme has been changed
- Currency has been changed → republish to ensure the correct currency appears on product tags on the storefront
- If the app is disabled, but the merchant updates the settings while it’s disabled and then enables the app afterward, it may cause errors.
- Data in the app (feed, account, media, etc.) is not in sync with what’s shown on the store

3. Integrations
Don’t just make your Instagram feed appealing—make it reliable and conversion-focused. Mageplaza Instagram Feed empowers you to tag products directly to your Instagram posts on your Shopify store. With Air Product Reviews, you can easily add star ratings and customer reviews to your Instagram feed. This combination not only enhances your store’s visual appeal but also builds trust through authentic testimonials.
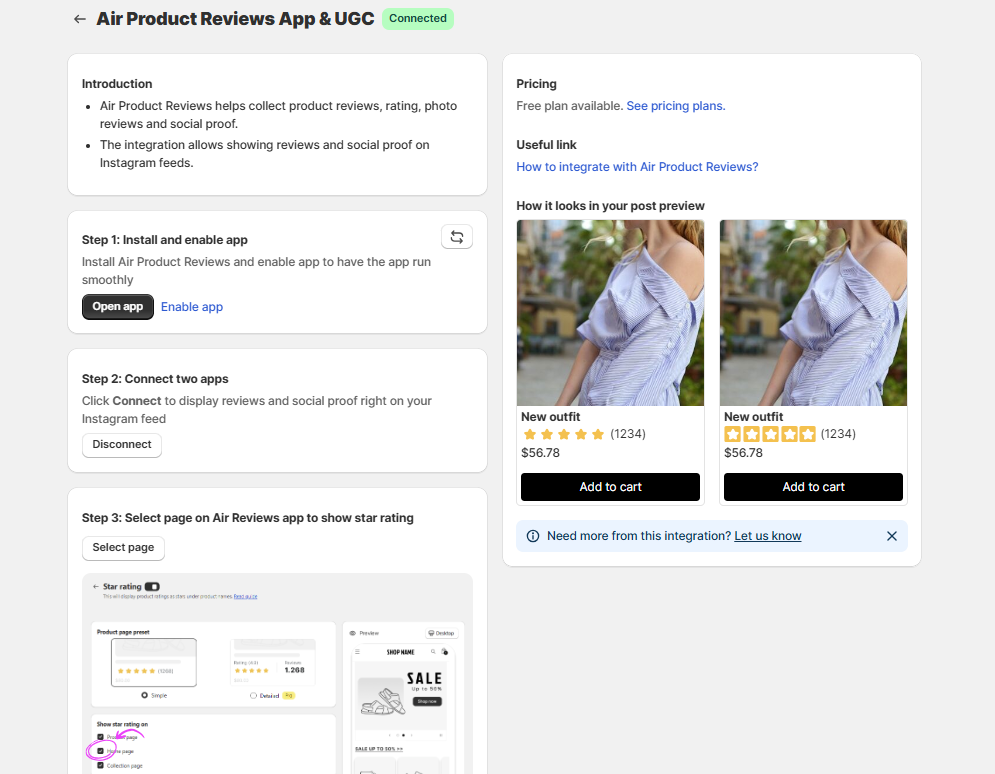
Integrate with Air Product Reviews
- Go to Mageplaza Instagram Feed > Integration, go to the Air Product Reviews block, and click Manage.
- Step 1: Install and enable the app. Click Go to app store to install and set up Air Product Reviews (skip this step if you’ve already installed Air Reviews). Then go back to Instagram Feed and click Enable app to activate it on your theme.
- Step 2: Connect two apps, click Connect to integrate the two apps.
- Step 3: Select the page (homepage, product page, collection page) on which to display the star rating.
Note: Follow our video to enable Mageplaza Instagram Feed if you have not yet.
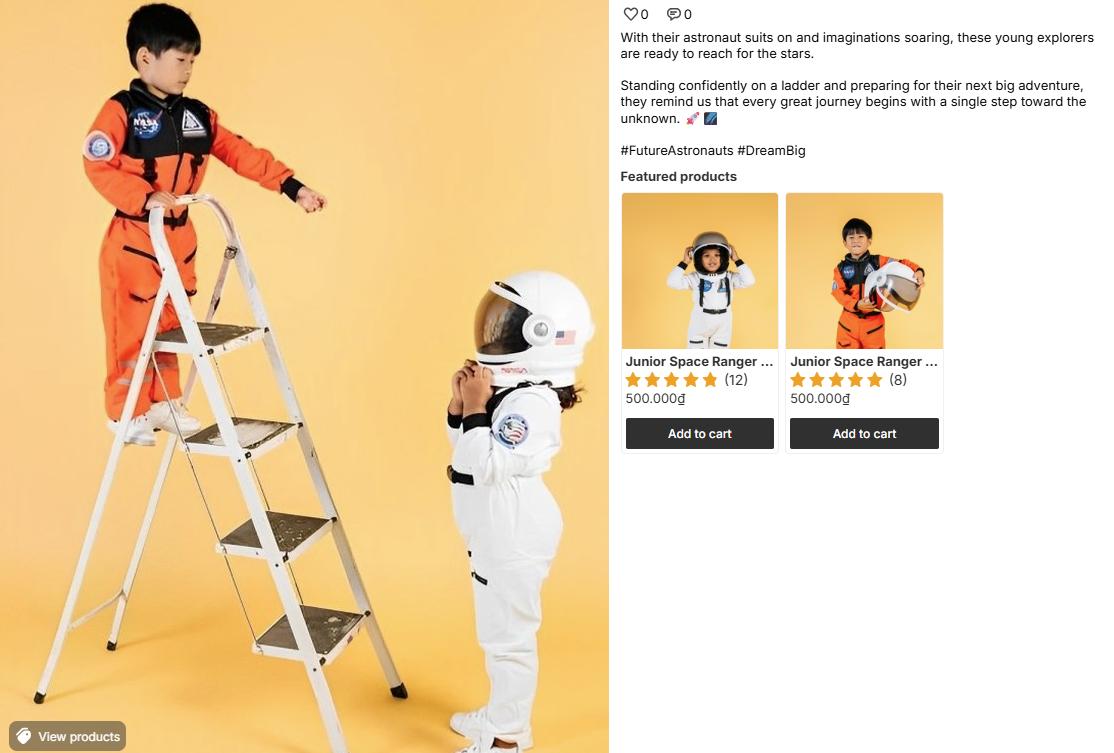
Show reviews and ratings on Instagram feeds
- After integrating the two apps, go to Mageplaza Instagram Feed > Product tags > Set up in Product tagging posts.
- Check Show product reviews and ratings, and complete this process to create and show the Instagram feed.
- Go to your storefront and check reviews and star ratings on any products tagged in your Instagram feeds.
II. Instagram connection
This section allows you to manage connected Instagram accounts and control how your posts and stories sync into the app.
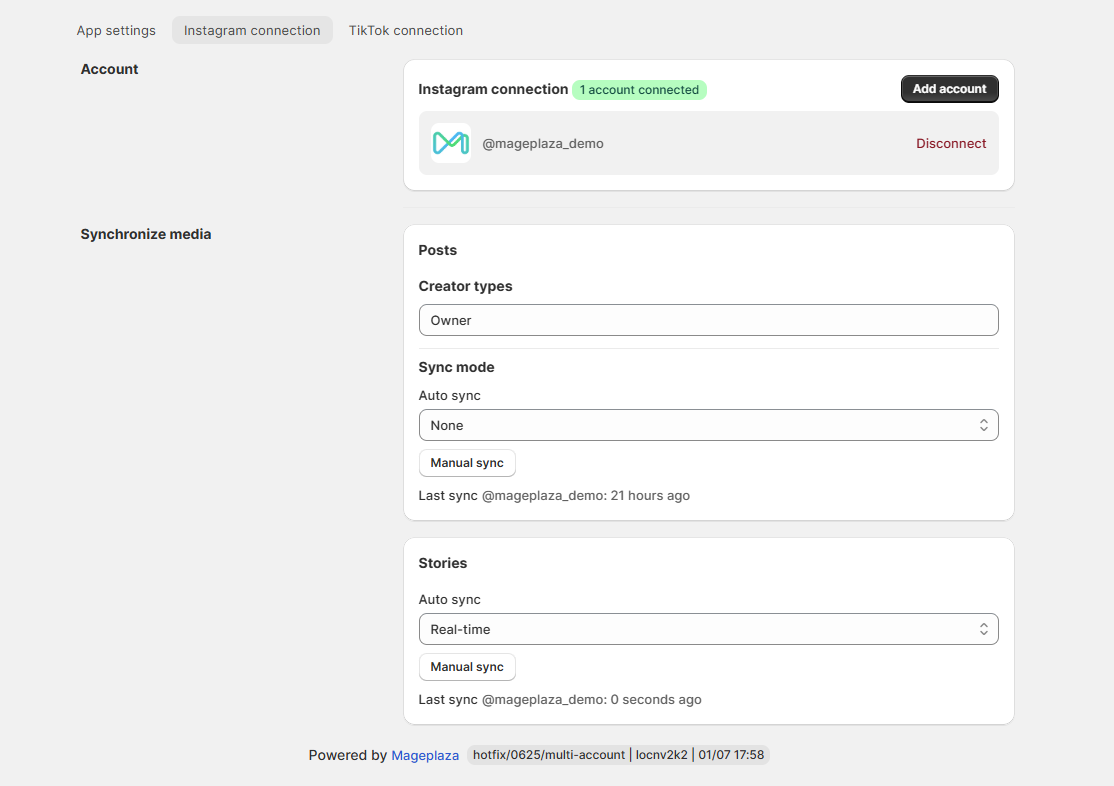
1. Instagram account connection
Displays all currently connected Instagram accounts.
You can:
- Click Add account to connect another Instagram account.
- Click Disconnect to remove the current account.
Make sure your Instagram account is an Instagram Professional account (Business or Creator account).
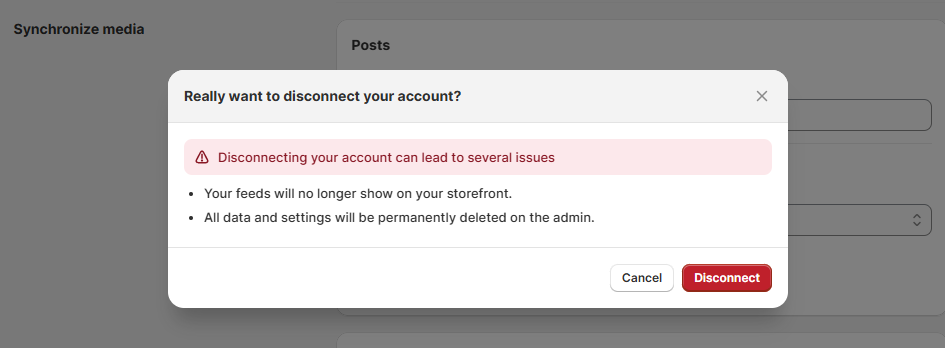
How to disconnect an Instagram account
Note: If you disconnect, all data will be removed.
- Step 1: Access Mageplaza Instagram Feed > Settings > Instagram connection.
- Step 2: Select Disconnect under the Instagram connection section.
- Step 3: Confirm your disconnection from the current Instagram account by clicking Disconnect.
2. Synchronize data
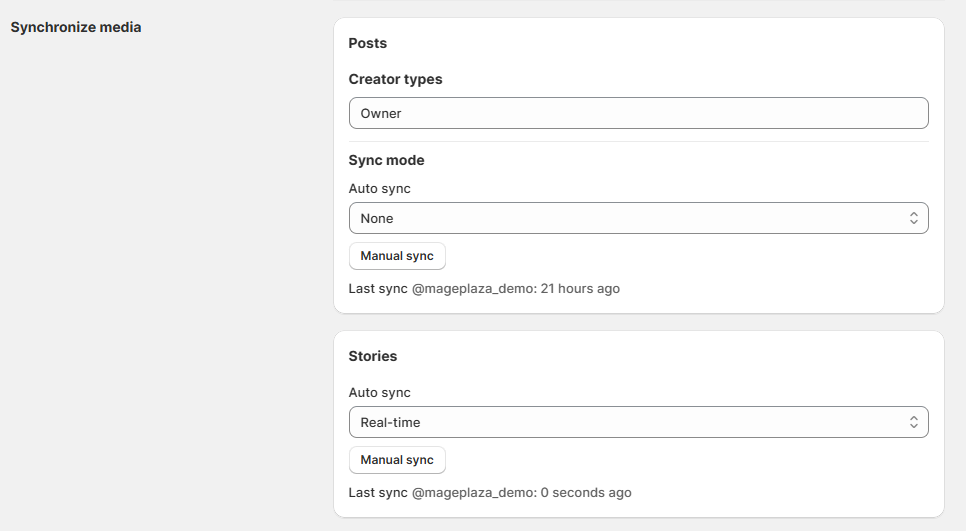
Posts
Creator types: Sync the posts from creator types
- Owner: Posts from the main account manager.
- Collaborators include two types of media: collab posts and tagged posts.
- Collab posts: Posts from guest contributors or team members.
- Tagged posts: Posts where the guest’s account has been tagged.
Sync mode: Update data with 2 types of data synchronization options to keep the data updated from your Instagram account.
- Same for all active accounts: The selected sync schedule will be applied to all connected accounts.
- Different for each selected account: You can customize a separate sync schedule for each account individually.
Note: You must connect at least one account before you can set up the media sync settings below.
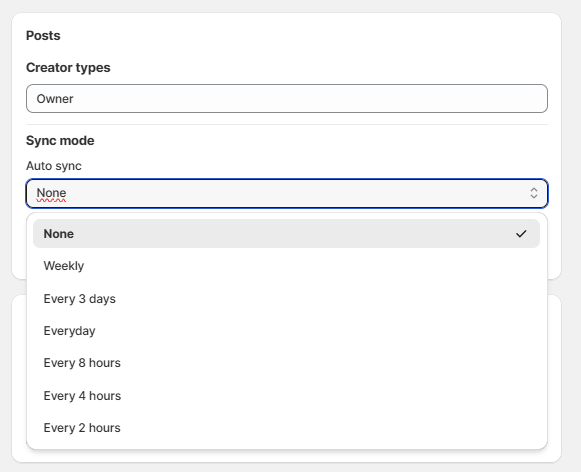
- Auto sync:
- None: No auto synchronization.
- Weekly: Auto-synchronize/update data from your Instagram account every 7 days.
- Every 3 days: Auto synchronize/update data from your Instagram account every 3 days.
- Everyday: Auto-synchronize/update data from your Instagram account daily.
- Every 8 hours: Auto-synchronize/update data from your Instagram account every 8 hours.
- Every 4 hours: Auto-synchronize/update data from your Instagram account every 4 hours.
- Every 2 hours: Auto-synchronize/update data from your Instagram account every 2 hours.
- Manual sync: Immediately synchronize/update data from social platforms when clicking the button.
Stories – Synchronize media
Manage syncing for Instagram Stories separately.
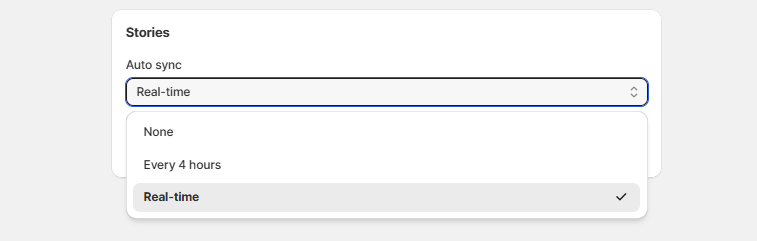
Auto sync: You can control how your Instagram Stories are synced into the app:
- Real-time: New stories will be synced immediately as they’re posted. (There may be a delay of around 15 minutes due to syncing latency between both sides.)
- Every 4 hours: Stories will be checked and synced automatically every 4 hours.
- None: Auto sync is disabled — you’ll need to sync stories manually.
Manual sync: Click to fetch the latest stories manually.
Note: Story sync is handled independently from post sync.
Auto Sync Stories = None means new stories will no longer be synced. Previously synced stories will continue to display until they expire (24 hours from the time they were posted). If you don’t want to sync stories anymore, go to Feed Settings (Step 1) and uncheck Stories in the Filter section.
III. TikTok connection
Manage your TikTok account and control how media is synced into the app from this section.
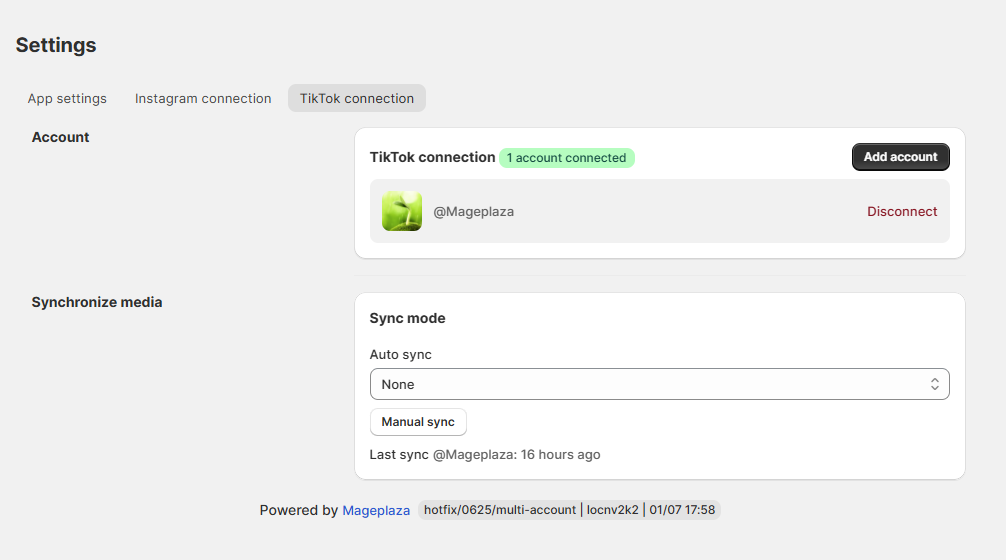
1. TikTok account connection
Display the currently connected TikTok account.
You can:
- Click Add account to connect a new TikTok account.
- Click Disconnect to remove the existing one.
Only active and authorized TikTok accounts can sync media into your feeds.
2. Synchronize media
Sync mode
- Auto sync: Automatically pulls new TikTok videos based on your selected frequency.
- None: No auto synchronization.
- Weekly: Auto-synchronize/update data from your TikTok account every 7 days.
- Every 3 days: Auto synchronize/update data from your TikTok account every 3 days.
- Everyday: Auto synchronize/update data from your TikTok account daily.
- Every 8 hours: Auto-synchronize/update data from your Instagram account every 8 hours.
- Every 4 hours: Auto-synchronize/update data from your Instagram account every 4 hours.
- Every 2 hours: Auto-synchronize/update data from your Instagram account every 2 hours.
Manual sync: Click to fetch the latest videos from your TikTok account immediately. Manual sync is useful when testing or needing immediate updates.