How to add products, tags, and collections to a size chart
The Display position settings let you control how a size chart is applied across your store. You can show it on all products, assign it to specific items, or use condition-based rules (tags, collections, product types, etc.) to display charts only where they’re most relevant.
Navigate to Display position at Position tab.
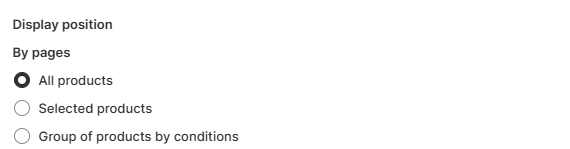
Choose All products if you want to assign the chart to every product in your store.
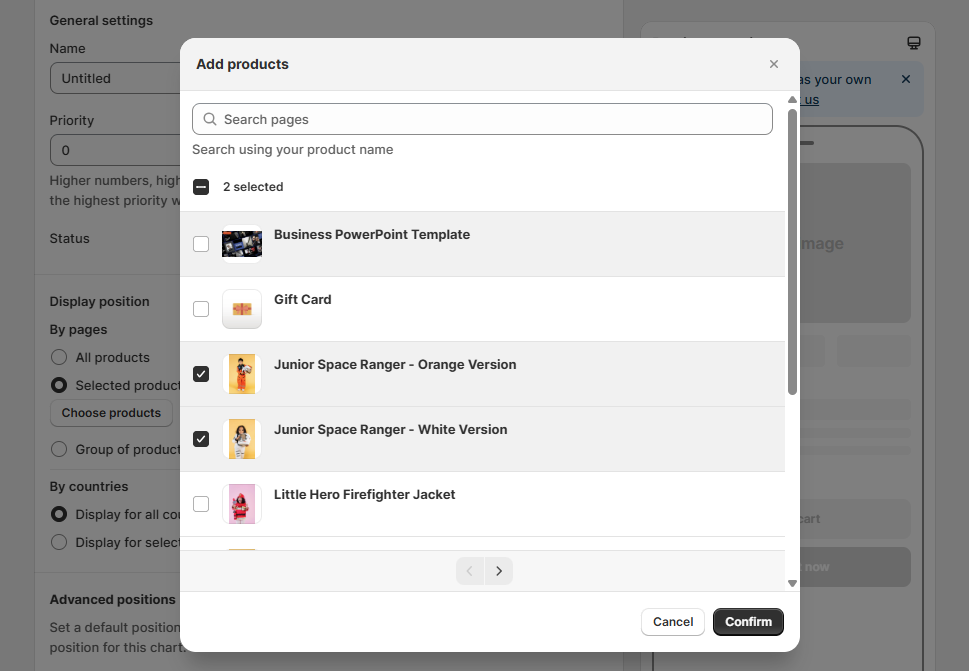
Choose Selected products if you only want to assign the chart to specific items. Click the Choose products button → a pop-up will display all products in your store. You can search for products and check the ones you want to assign to the chart. Finally, click Confirm to complete.
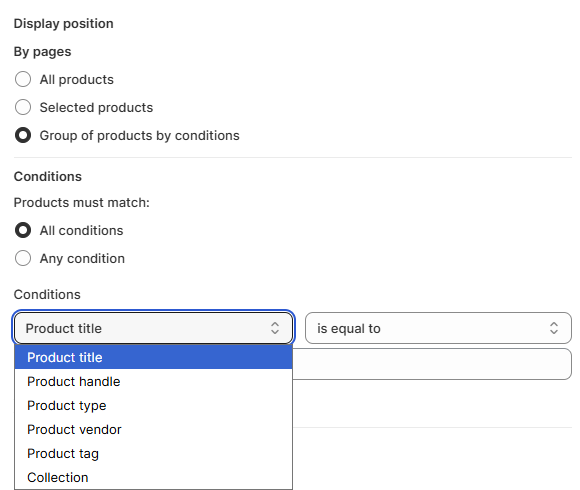
Choose Group of products by conditions if you want to display a size chart for a specific group of products instead of all products or manually selected ones.
Step 1: Select matching rule
Under Conditions, decide how products should match:
- All conditions – The product must meet every condition you set.
- Any condition – The product will match if it meets at least one of the conditions.
Step 2: Choose conditions
From the dropdown, select the criteria you want to use to assign the chart. You can choose from:
- Product title
- Product handle
- Product type
- Product vendor
- Product tag
- Collection
Each condition can be combined with rules such as is equal to, is not equal to, contains, does not contain, starts with, and ends with. Enter the value that matches your products.
Step 3: Save
Once you’ve added your conditions, click Save. The size chart will automatically be applied to all products that meet the rules.
Wrap-up
By linking size charts to products, tags, or collections, you ensure shoppers always see the right chart. This not only reduces sizing confusion but also improves the buying experience and helps lower return rates.